Installing a new server with client
When installing a new octoplant server with client, the octoplant client applications are installed in addition to the octoplant server applications. octoplant server and client applications run on the same computer with this type of installation.
Installation requirements:
- The octoplant setup file needs to be accessible.
- You must have a valid octoplant license file.
- The user or user account for the installation must have administrator rights.
- The drive, set to store the server archive, must allow files to run. The same applies to the drive used to store the client archive. There is a likelihood that existing antivirus software must be deactivated if they interfere with files being run.
-
It is recommended not to install the octoplant hub on a computer on which an octoplant server is already installed. If this has already been done, the postgres service octoplant hub PostgreSQL 14 must be stopped manually when installing/updating the octoplant server.
If the execution of files is not allowed, an error message (SQL exception) will be displayed later when logging on to the system. Login is not possible.
In order to install a new octoplant server with client, proceed as follows:
-
Run the Setup.exe file on the machine designated for installation as an administrator.
- The installation wizard will then open.
- Select a language version. Currently English and German are available.
- On the welcome page of the installation wizard, click Next.
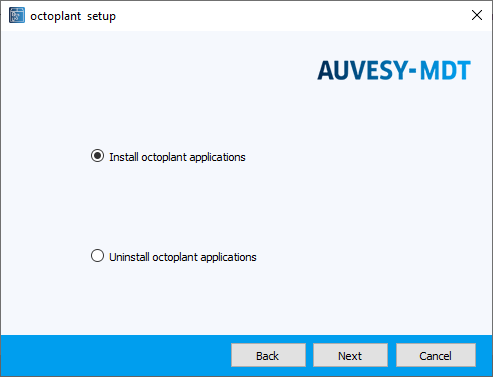
- Select the option Install octoplant applications and then click on Next.
- Select I agree then click on Next.
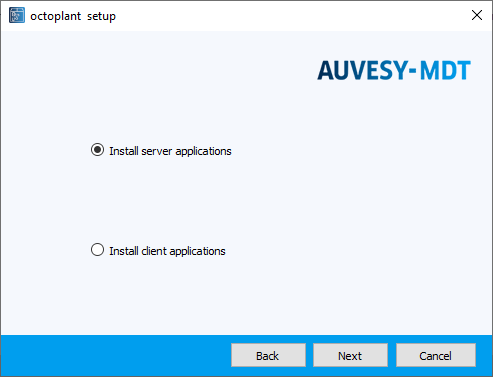
- Select Install server applications and click on Next.
If you do not agree to the license agreements, the installation will not proceed.
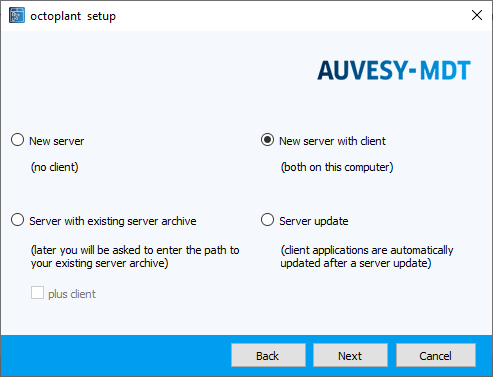
- Select New server with client (both on this computer) and then click on Next.
- Enter the path to the octoplant license file and click on Next.
- Select the desired program add-ons.
- Click on Next.
- Specify the paths to the octoplant client application and server application directories.
- C:\Program Files\vdogClient
- C:\Program Files\vdogServer
- Click on Next.
- Select where to save the server archive. The following options are available:
- Local:
The server archive is stored in a local directory. - Remote:
The server archive is saved in a remote server archive. - Click on Next.
- Enter the path to the existing local server archive, a directory for the client setup files directory and the storage space for the client archive.
-
D:\vdServerArchive
- D:\vdServerArchive\vdog client setup
- D:\vdClientArchive
- Click on Next.
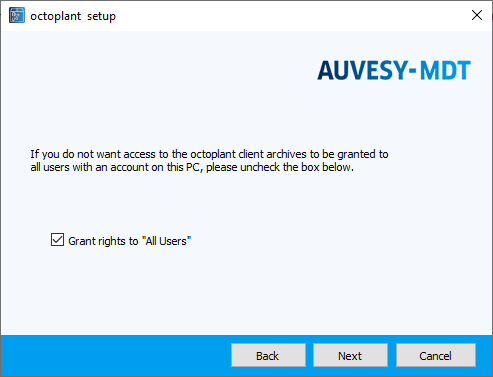
- If necessary, give the other users of the computer access rights to the client archive. The option Grant rights to "All Users" is active by default
- Click on Next.
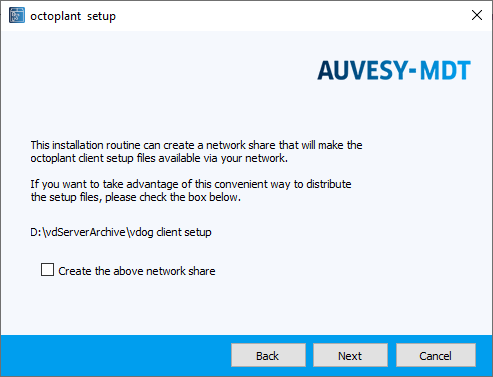
- If you want to make the octoplant client setup files available on the network, enable the option Create the above network share. The Create network share option is not active by default.
- Click on Next.
- Specify the user account from which the octoplant services should be started. You have two options: System account and Username.
- Click on Next.
- Now the dialog for entering the password for the superuser octoplant will open.
- Set the program call. The following options are available:
- Add entry to menu "All Programs"
- Create shortcuts on desktop
- Create shortcuts on Quick Launch Bar
You can choose more than one option.
- Click on Next.
- If you wish to install octoplant examples, activate the option Install examples.
- Click on Next.
- Verify the displayed data. If everything is correct, click Next.
- The setup will begin. A message box will indicate when the installation process is complete.
- After successfully completing the installation, click on Finish to close the installation wizard.
You can enter the path manually or click on the Browse... button.
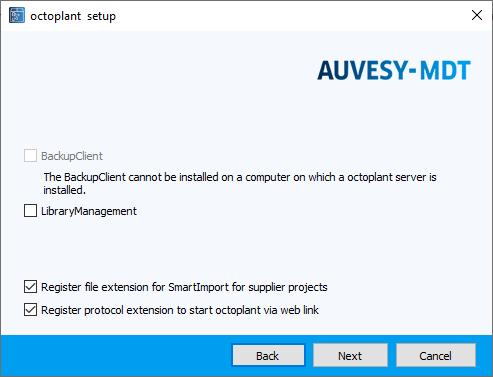
The BackupClient cannot be installed on the machine on which the octoplant server is running.
Options:
LibraryManagement
The LibraryManagement is a version management tool for standard blocks and currently available for Siemens S7, Siemens TIA Portal and RSLogix 5000.
A subsequent installation of LibraryManagement is possible at any time.
Register file extension for SmartImport for supplier projects
This option allows you to send octoplant projects via email to suppliers and customers who do not use octoplant or do not have access to your octoplant server.
If the option has been checked, an entry will be written into the Windows Registry, which makes it possible to open a versiondog delivery bill for suppliers (file of the type *.vdog-sdn) in the file manager. If the option has not been enabled, no registry entry will be written and files of type *.vdog-sdn can be opened only through the UserClient.
The registration of the file extension can also be done or undone in the UserClient, in the Client Settings dialog, located under the Extensions tab.
Register protocol extension to start octoplant via web link
If you have enabled this option, you will be able to start the UserClient from the browser via a weblink. The weblink has the format vdog:cid/<CID>, where <CID> is the component ID of the system.
The registration of the protocol extension can also be done or undone in the UserClient, in the Client Settings dialog, located under the Extensions tab.
You can enter the path manually or click on the Browse... button.
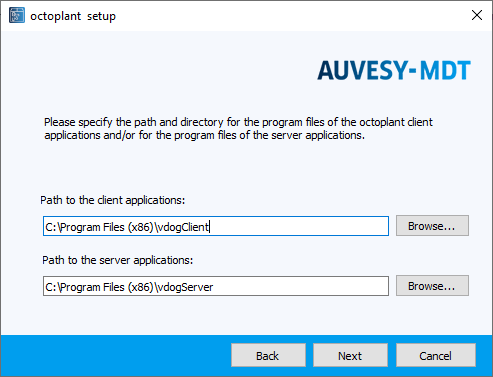
We recommend that you keep the default paths.
Examples:
You can enter the paths manually or click on the Browse... button.
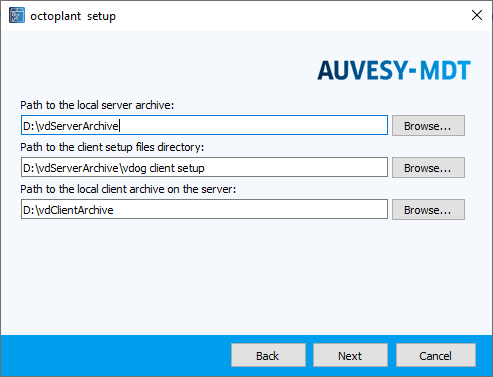
We recommend that you keep the default paths:
Examples:
If you have selected the option Remote: as the location in which to store the server archive, the field Path to the project files on an external drive: will be displayed. Enter the path to the remote directory in this field (format: \system name\share\path).
For technical reasons, a path for the local server archive must also be entered if the Remote option has been selected.
The user or user account from which the installation is performed requires read and write permissions to the remote system.
 The server archive contains a variety of data, including versions, backups, and metadata. Make sure that you have enough free space for the server archive.
The name of the network share is vdog client setup.
 By default, each user has read rights to the directory and administrators have full access.
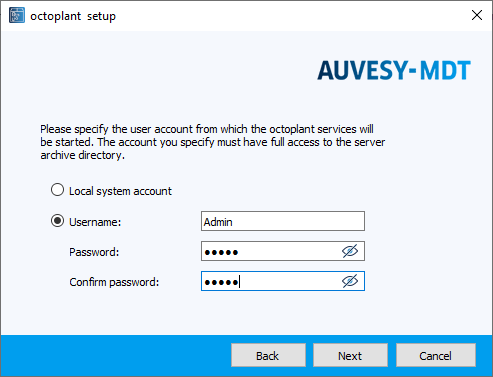
The account you specify must have full access to the server archive directory. AUVESY recommends you select the Username option and choose an account with administrator rights. The local system account may not have the necessary rights.
If you choose to use a domain account, the domain must always be specified. Format: <Domain>\<User name> (Example: DATAMAN\TomT).
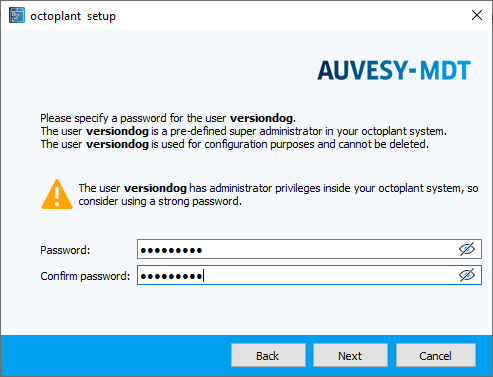
 The password change-it must not be used. If the password change-it is set for the user during the server startup, a critical error will be written to the octoplantevent log. You will then need to change the password the next time you log in.
The option Install examples is by default disabled. The example files are used only for the purpose of illustration. The octoplant system is still fully functional without these.
A summary of your input will now appear.
If the Windows Firewall service is not active during the installation of octoplant, a dialog will appear. To proceed with the installation process, click on Continue.
| Related topics |
|---|
| LibraryManagement |
| Options for older operating systems |
| UserClient -> Client settings |
| UserClient -> Working with externals programmers |