Configure communication between the agent and the server
Use this procedure to enable TCP/IP communication between the agent and the Octoplant server in the AdminClient after installing the agent.
- Start the AdminClient and open the Jobs module.
- Select Agent configuration in the menu bar.
-
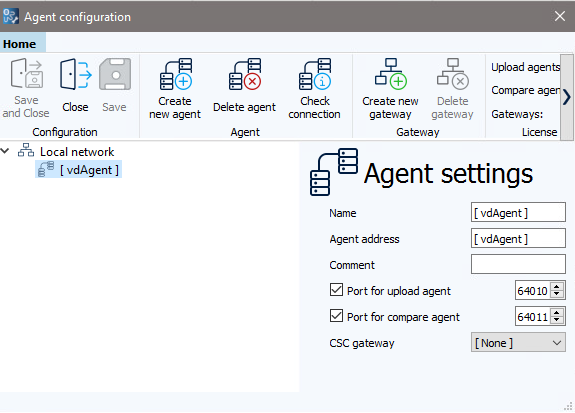
In the Agent configuration dialog, select Create new agent.
-
In the Agent settings area, enter the name and IP address or computer name of the client where the agent will be installed and run its tasks.
Info
Agents are assigned to a job by name. Make sure each agent name is unique.
-
Select the Port for upload agent option, the Port for compare agent option, or both.
You can use one or both agents, depending on your setup requirements. -
Specify the Port No..
The default ports are:
- 64010 for the Upload agent
- 64011 for the Compare agent
If needed, you can change the ports by editing the
Csc.inifile located invdAgentArchive\VD$A\Configuration. After making changes, restart the agent services to apply the new settings.The ports must be opened in the firewall.
-
From the CSC gateway dropdown, select the gateway to which the agent should be assigned.
-
Select Check connection in the toolbar to test communication with the agents.
- If the connection is successful, a green circle appears next to the agent ports.
- Once confirmed, you can save the configuration.
-
Select Save and close to complete the setup.
Info
After saving the connection configuration, Octoplant starts pairing new agents. This usually takes a few seconds, but may take longer depending on server load.
While pairing is in progress, path selection in the job configuration is temporarily unavailable.
Related topics