Installation
Proceed as follows
-
Go to the download section on our website, https://www.my.auvesy-mdt.com, and download the octoplant_hub.zip file.
-
Unzip the file and execute the file octoplanthub.msi on a PC where no octoplant server is running.
-
The installation wizard will start.
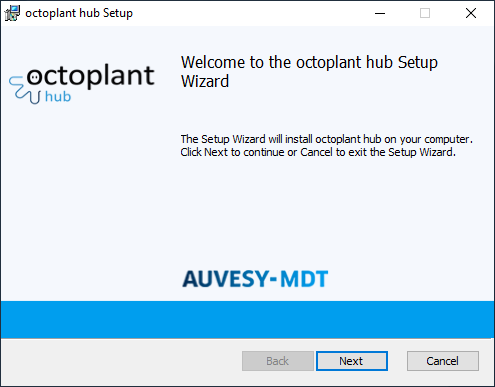
Image: Installation wizard, start dialog -
Click on Next.
-
Read the License agreement and then confirm.
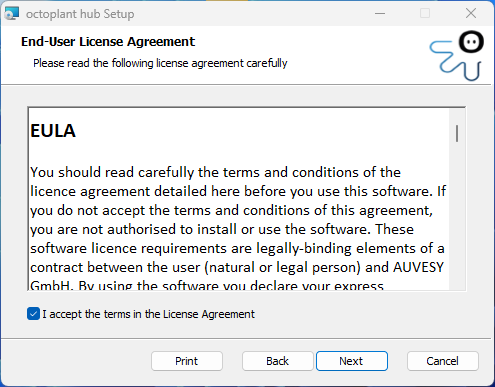
Image: Installation wizard, license terms -
Click on Next.
-
The Destination folder will open. Here, you can adapt the installation directory as desired.
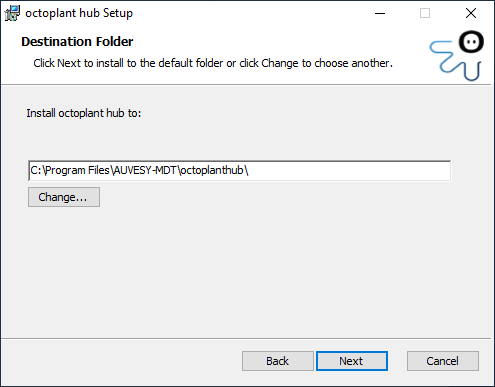
Image: Installation wizard, Destination folder By default, the directory C:\Program Files\AUVESY-MDT\octoplanthub is suggested to you.
-
Click on Next.
-
The section for setting up a PostgreSQL database, where you can store your data, will open.
You can set up a new database or use an existing one.
Image: Installation wizard, PostgreSQL database Enter the port, the name of the database and the credentials of a user for the database. The user must have sufficient user rights.
 The username may not contain any capital letters.
I changed my PostgreSQL database password, and now I can't access the database. It used to be I could just change it in the config.yml file, but now the database password in config.yml is a very large number of characters, and not the password I specified. What happened?
During installation, the database password is stored in config.yml in encrypted form, then decrypted during use.
To change the password to the PostgreSQL database, follow these steps:
-
Run the following program from the command line:
octoplanthub-config.exe -encryptPassword <password_of_the_database_user>
-
Take the output of this program (the encrypted password you just entered) and paste to the config.yml file in the database -> password field, then save the file.
This will enable you to use the new encrypted password to access the database.
-
-
Click on Next.
-
Enter the data of the administrator for the octoplant hub.
The administrator specified here can create new users for the octoplant hub.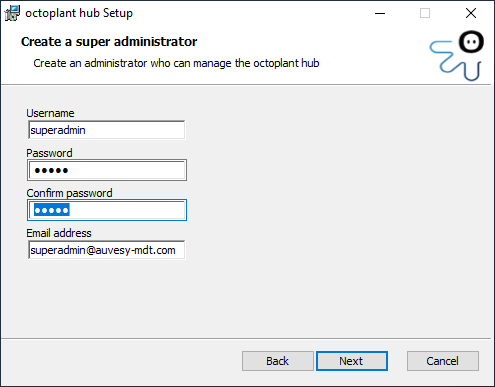
Image: Create installation wizard, super administrator -
Click on Next.
-
To send automatic notifications to users, select the Enable SMTP checkbox.
You can specify SMTP server settings for this.
If you want the emails to be sent encrypted, check the SSL Encryption checkbox.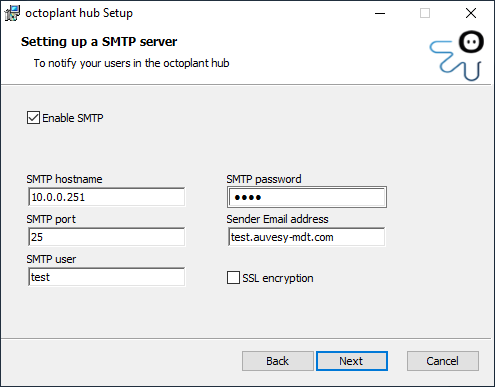
Image: Installation wizard, Destination folder -
Click on Next.
-
Complete the installation by clicking on the Install button in the next dialog.
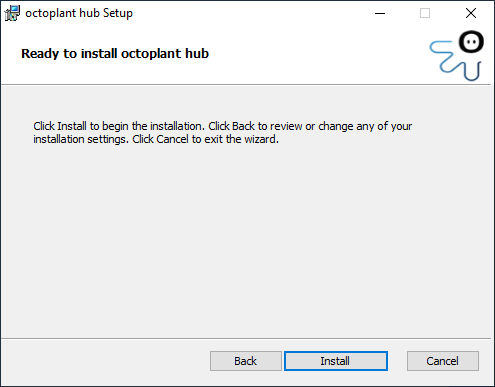
Image: Installation wizard, final dialog Installation

Log files
In the installation directory, you will find a subdirectory logs with the two files backend.log and octoplanthub-config.log, in which the steps performed during installation are logged.
|
I've lost/forgotten the SuperAdmin password for the octoplant hub. What do I do? If you have lost or forgotten the SuperAdmin password for the octoplant hub, you must uninstall, delete the installation directory, then re-install the octoplant hub.
|
 Make sure that the installation directory of the old installation is deleted before the new installation. An example would be to delete C:\Program Files\AUVESY-MDT\octoplanthub, and in particular the config.yml file. If you have made changes to the config.yml file and wish to retain them, copy it to another directory then delete the installation directory of the old installation.